
Migrate Visual Studio Solution from Subversion to Git
Previously I stored my source code in Subversion Server using the Ankh SVN Plugin. Even though this all works pretty fine, I’m currently migrating to Git (e.g on github or Visual Studio Team Services) Here is a short explanation how to clear your link to Subversion and upload the source to a new repository on your preferred git server.
Remove Subversion from Visual Studio Solution
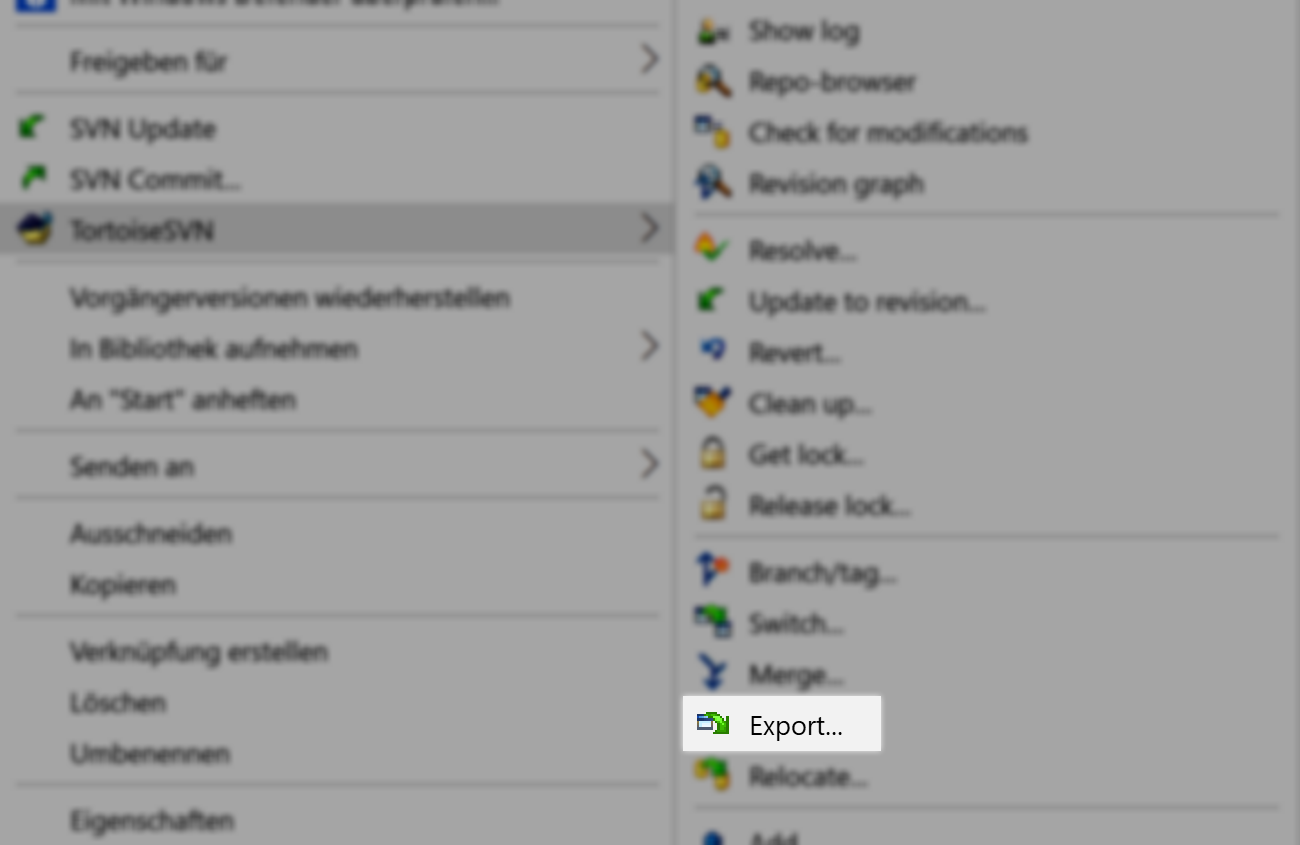
The easiest way: delete the .svn folder in your solution. Nevertheless I prefer to do it with the application itself. So using TortoiseSVN, right-click on your folder in Windows Explorer and select “TortoiseSVN” -> “Export”.
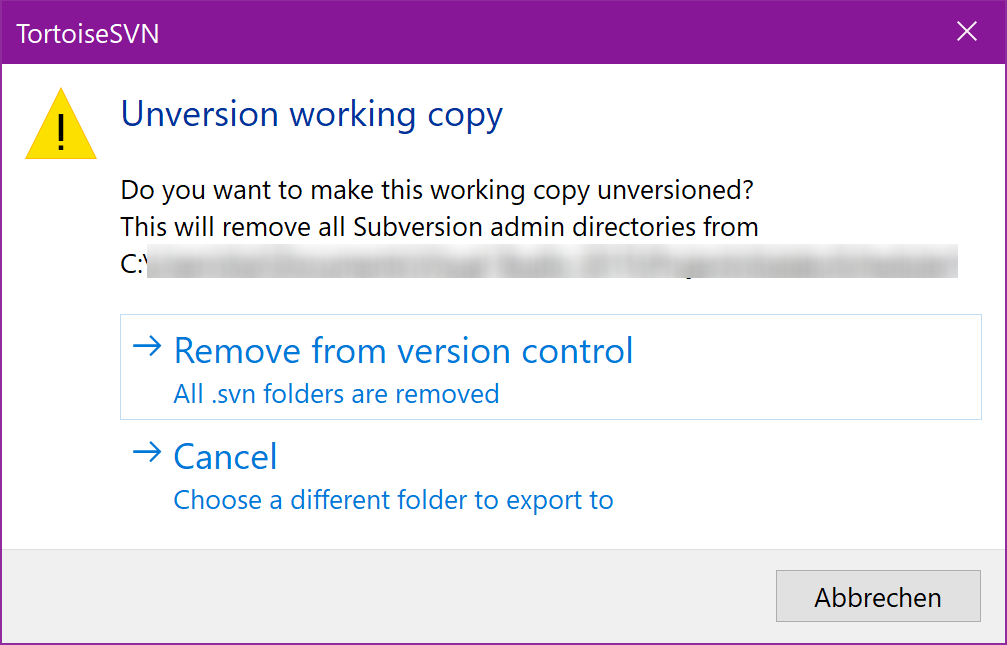
Now you could choose your target folder. If you don’t want to move your solution to another folder, it’s also fine to select the current folder. Once you confirmed, TortoiseSVN asks for confirmation whether you are really sure to unversion your folder. Click “Remove” and Subversion is removed from your solution.
Remove Subversion from your Visual Studio Solution File
Even though subversion is removed for your folder, Visual Studio still wants to use Ankh Subversion as Source Control and if you switch to git, Visual Studio automatically closes your solution. So we need to remove the connection also from Visual Studio. Therefore close Visual Studio and open your solution file (*.sln) with a Text Editor like Notepad++. Search for “Subversion” and you should find a block like this:
...
Global
  GlobalSection(SubversionScc) = preSolution
    Svn-Managed = True
    Manager = AnkhSVN - Subversion Support for Visual Studio
  EndGlobalSection
  GlobalSection(SolutionConfigurationPlatforms) = preSolution
...
Remove all the 4 lines starting with “GlobalSection(SubversionScc)” up to “EndGlobalSection” and save it. Now open your solution and your source code is free as a bird.
Add Visual Studio Solution to Git
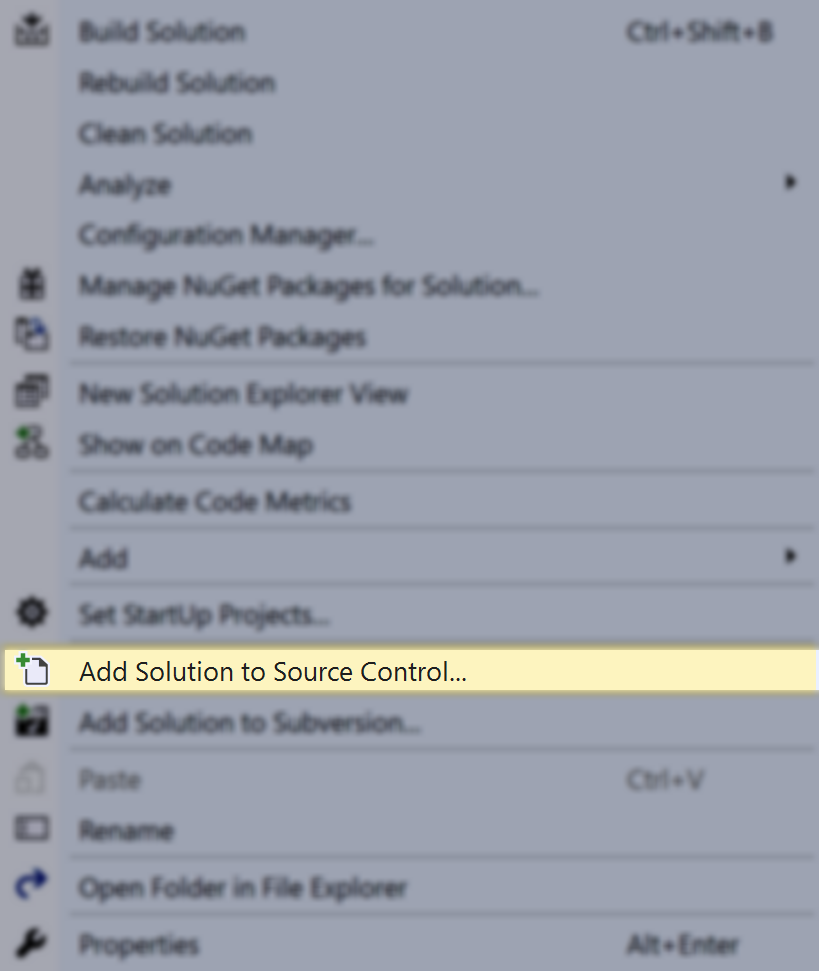
To add it to a git server like https://www.visualstudio.com/ right-click on your Solution in Visual Studio and select “Add Solution to Source Control”
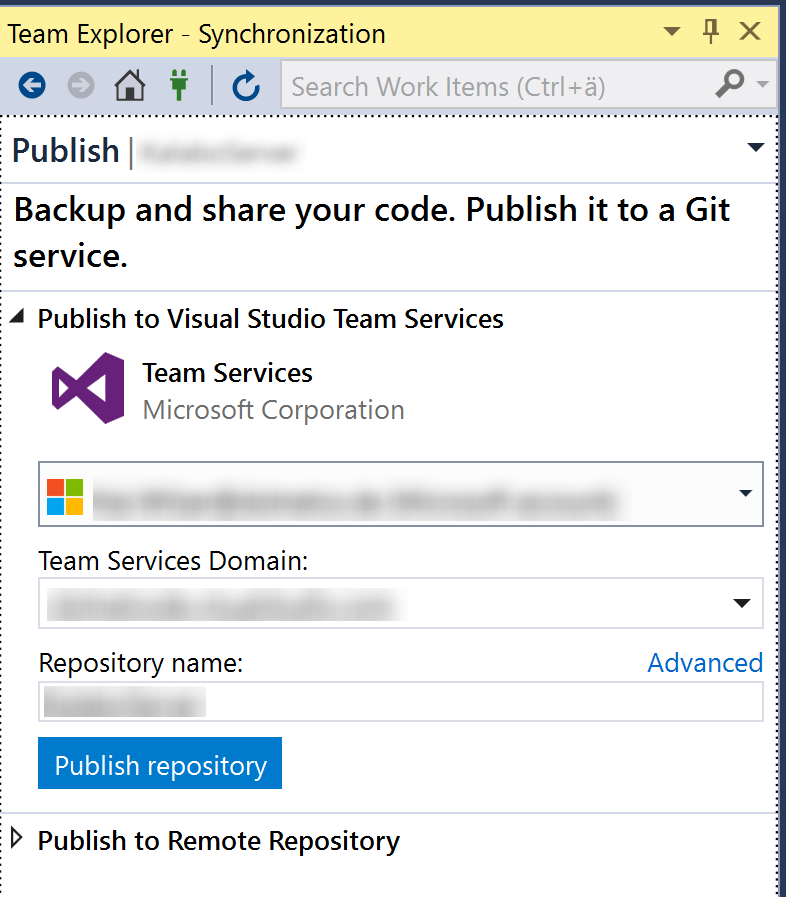
In your right tab, switch from “Solution Explorer” to “Team Explorer”. There you’ll find the options to publish your new git repository to either Visual Studio Team Services or to any other remote repository.
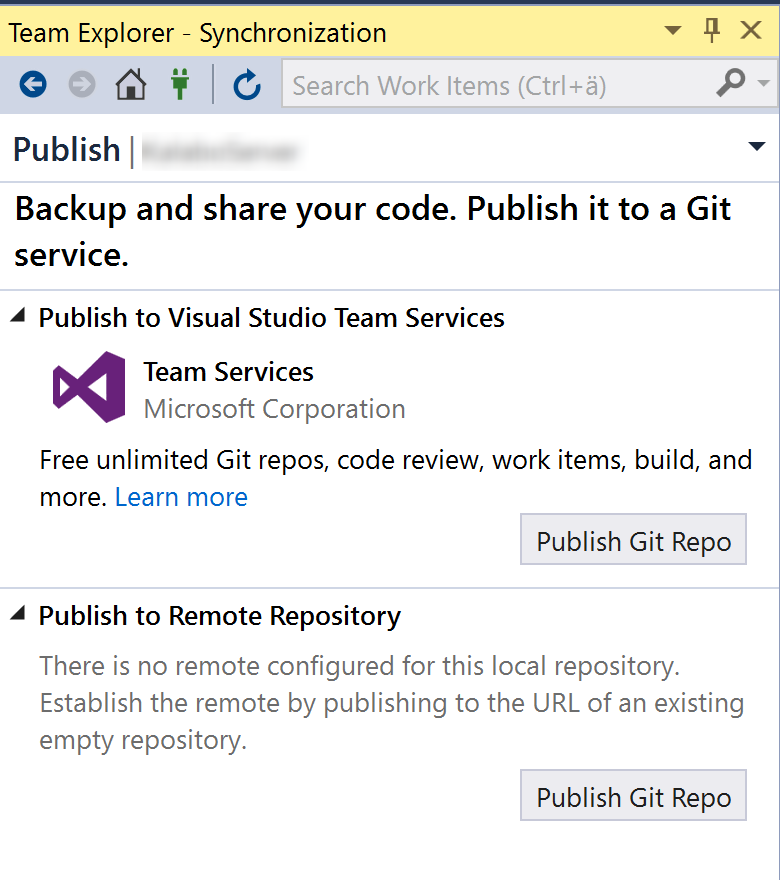
If you click on “Publish Git Repo” in the Visual Studio Team Services section, Visual Studio connects to your account and checks for existing projects. Enter the name of your new repository and click “Publish Repository”.
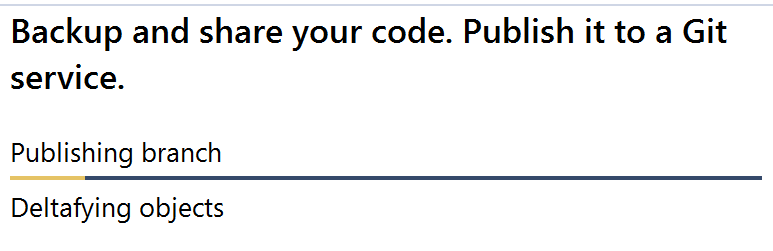
This might take now some seconds or minutes but you could have a look on the webserver already and see that the code is currently being uploaded. At the end you’ll see a little confirmation information saying that your repository was published successfully. Back to the solution explorer you’ll also notice that the Git icons now appear next to your files in your solution.

