
Native Facebook Login for Xamarin Forms Android projects
 Previously I’ve shown how to add native Facebook Login in Xamarin Forms iOS App, so now it’s time to do the same also for the Android project in your Xamarin Forms Application.
James Montemagno posted article “Native Android Facebook Authentication with Azure App Service” just 3 weeks ago but as he uses Azure App Services I’ll now update my existing Native Facebook Login for Xamarin Forms iOS projects also for Android. The steps are quite the same as for iOS of course.
This is all based on the source code created within how to get Facebook Friendlist and of course we could reuse much of this code. So current article not only contains details about the native Facebook Login in your Xamarin Forms Android project, but also how to retrieve the friendlist then.
Update Facebook App
We have added Facebook Login for iOS, now we also need to inform Facebook about our upcoming Android app. So go to your app at https://developers.facebook.com/apps/ and select Facebook Login -> Quick Start -> Android Platform.
Similar to iOS, we could again skip some steps.
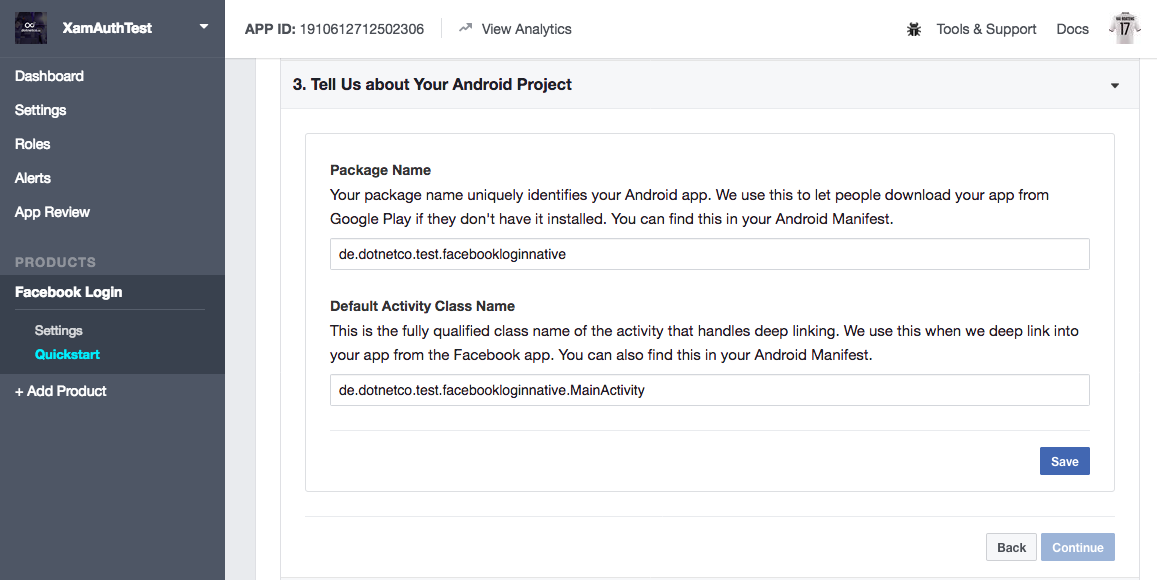
The first important step is number 3: Tell us about your android project. Enter the package name and the Main Activity of your Android project. You will get a warning if the package name is not found in Google Play Store. You could of course ignore that if your app is not available in Google Play Store yet, otherwise check for typing errors.
Next take care of step 4, Add your development and releases key hashes. Follow the instructions and add the key(s) generated into the inputbox.
![]()
For release mode it’s a bit more complicated. The line supplied by Facebook is:
keytool -exportcert -alias YOUR_RELEASE_KEY_ALIAS -keystore YOUR_RELEASE_KEY_PATH | openssl sha1 -binary | openssl base64
As you see, you need to replace YOUR_RELEASE_KEY_ALIAS and YOUR_RELEASE_KEY_PATH. So where could you find these values?
Find Release Key Alias and Release Key Path in Visual Studio on Mac
In Visual Studio for Mac, go to Build -> View all Archives if you already created an Android Archive of your app. Right-click your latest Android App, select “Sign and Distribute” and select “Google Play”. Choose your correct Google Account and click Next. Here you’ll see your existing keys.So that’s already the first of the 2 variables: YOUR_RELEASE_KEY_ALIAS is shown there, maybe the same as your app name.
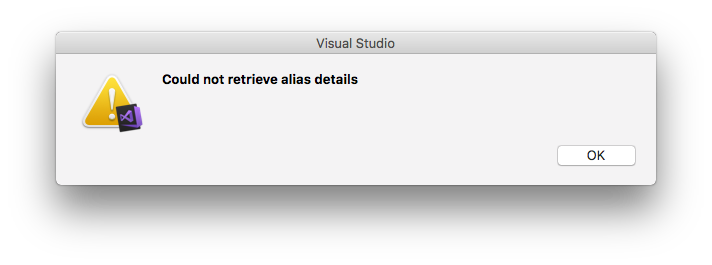
Now right-click on the correct key and select “Show Alias Info”. Hmm… “Could not retrieve alias details”…. But I know this worked before, so I closed my solution and tried the same in Xamarin Studio… with same result.
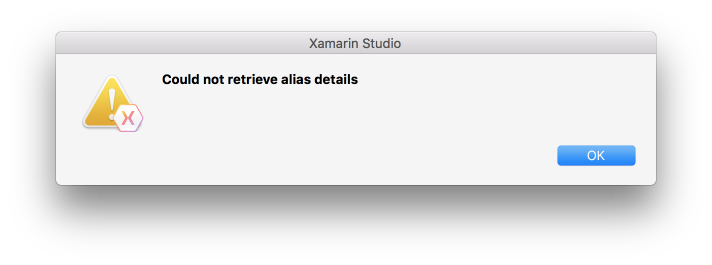
I’ve also restarted my mac, without any changes. But then suddenly it worked. I don’t know why, but that does not matter…

So in the alias info, the storage is shown in the last line. And here you also see the structure so even if you also get the above shown error, just have a look at /Users/yourname/Library/Developer/Xamarin/Keystore/yourapp and see whether you’ll find yourapp.keystore.
So now you should have both variables and be able to execute the command in terminal. Your command might look like this:
keytool -exportcert -alias yourapp -keystore /Users/yourname/Library/Developer/Xamarin/Keystore/yourapp/yourapp.keystore | openssl sha1 -binary | openssl base64
If everything is correct you should be asked to enter your keystore password. Now the release key hash is shown. Copy into clipboard and paste it into Facebook Key Hashes Inputbox.
Nevertheless, later on I got an error from Facebook saying that the supplied key hash is invalid… Fortunately Facebook displays the used key hash in the error message so I just typed it from there and added it to step 4 in addition. After that the error message disappeared.

Step 6 has some information about updating your AndroidManifest.xml. We will add them later on.
Add Facebook Native Login to your Android Xamarin Forms project
We have already made changes in the PCL for iOS Native Facebook Login (otherwise see first article Native Facebook Login for Xamarin Forms iOS projects. So here are the changes to be made in your Android Xamarin Forms Project. You could also find lots of information on the Getting Started page for Xamarin Android Facebook package.
Add Xamarin.Facebook.Android nuget package
Add the latest Xamarin.Facebook.Android SDK from nuget to your android packages.
Update AssemblyInfo.cs
Facebook SDK requires some metadata and permissions so we add them to our AssemblyInfo.cs. Take care: Do not add your Application ID here. Facebook SDK needs the data in your values-folder (described later on) so copy the values exactly as shown here.
using System.Reflection;
using System.Runtime.CompilerServices;
using Android.App;

// Information about this assembly is defined by the following attributes.
// Change them to the values specific to your project.

[assembly: AssemblyTitle("FacebookLoginNative.Droid")]
[assembly: AssemblyDescription("")]
[assembly: AssemblyConfiguration("")]
[assembly: AssemblyCompany("")]
[assembly: AssemblyProduct("")]
[assembly: AssemblyCopyright("(c) dotnetco.de")]
[assembly: AssemblyTrademark("")]
[assembly: AssemblyCulture("")]

// The assembly version has the format "{Major}.{Minor}.{Build}.{Revision}".
// The form "{Major}.{Minor}.*" will automatically update the build and revision,
// and "{Major}.{Minor}.{Build}.*" will update just the revision.

[assembly: AssemblyVersion("1.0.0")]

// The following attributes are used to specify the signing key for the assembly,
// if desired. See the Mono documentation for more information about signing.

//[assembly: AssemblyDelaySign(false)]
//[assembly: AssemblyKeyFile("")]

[assembly: MetaData("com.facebook.sdk.ApplicationId", Value = "@string/app_id")]
[assembly: MetaData("com.facebook.sdk.ApplicationName", Value = "@string/app_name")]

[assembly: Permission(Name = Android.Manifest.Permission.Internet)]
[assembly: Permission(Name = Android.Manifest.Permission.WriteExternalStorage)]
Create or update Strings.xml
Your Android Resources-Folder should already have subdirectory called ‘values’. Add a new XML-File ‘Strings.xml’ there.
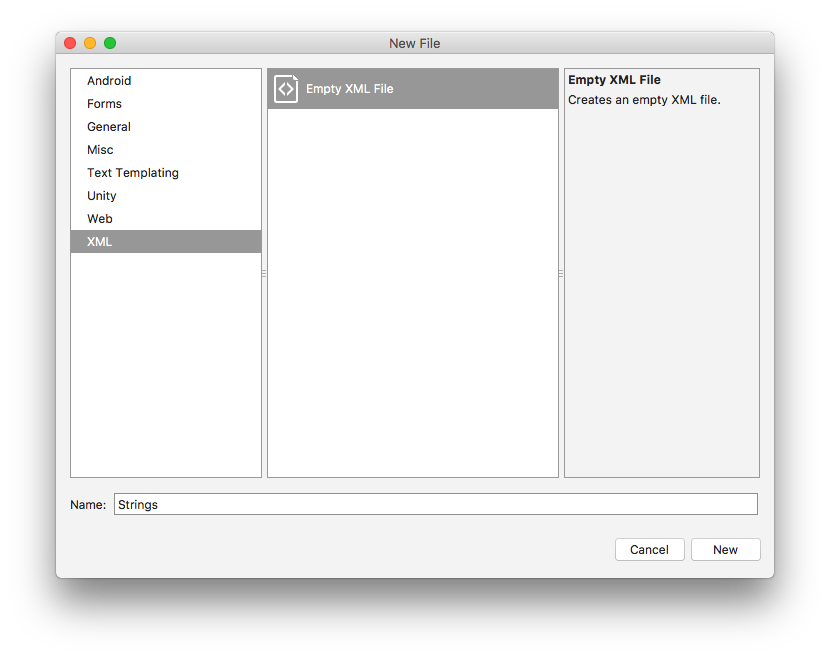
Copy your data from Facebook Developers Page and add it to the new strings.xml.
<?xml version="1.0" encoding="UTF-8" ?>
<resources>
    <string name="app_id">1910612712502306</string>
  <string name="app_name">XamAuthTest</string>
</resources>
Add FacebookButtonRenderer.cs
Create a new class FacebookButtonRenderer.cs in your Android Project and insert the following lines. Here I’m also requesting access to users friendlist in line 19. You could completely remove this line if you don’t want to access the friendlist. It’s not necessary to request access to the public profile because this is always granted automatically and users could not reject that except by canceling the facebook login completely.
using Xamarin.Forms;
using FacebookLoginNative.Droid;
using Xamarin.Forms.Platform.Android;
using Xamarin.Facebook.Login.Widget;
using FacebookLoginNative;

[assembly: ExportRenderer(typeof(FacebookLoginButton), typeof(FacebookLoginButtonRenderer))]
namespace FacebookLoginNative.Droid
{
  public class FacebookLoginButtonRenderer : ViewRenderer<FacebookLoginButton, LoginButton>
  {
    LoginButton facebookLoginButton;
    protected override void OnElementChanged(ElementChangedEventArgs<FacebookLoginButton> e)
    {
      base.OnElementChanged(e);
      if (Control == null || facebookLoginButton == null)
      {
        facebookLoginButton = new LoginButton(Forms.Context);
                facebookLoginButton.SetReadPermissions(new string[] { "public_profile", "user_friends" });
        SetNativeControl(facebookLoginButton);
      }
    }

  }
}
Update MainActivity.cs
Finally update your MainActivity.cs in your Android Project like this:
using System;
using Android.App;
using Android.Content.PM;
using Android.OS;
using Xamarin.Forms.Platform.Android;
using Xamarin.Facebook.Login;
using Xamarin.Facebook;
using Android.Content;
using Android.Runtime;


namespace FacebookLoginNative.Droid
{
  [Activity(Label = "FacebookLoginNative.Droid", Icon = "@drawable/icon",
              Name = "de.dotnetco.test.facebookloginnative.MainActivity",
              Theme = "@style/MyTheme",
              MainLauncher = true,
              ConfigurationChanges = ConfigChanges.ScreenSize | ConfigChanges.Orientation)]
  public class MainActivity : FormsAppCompatActivity
    {
        ICallbackManager callbackManager;

    protected override void OnCreate(Bundle bundle)
    {
      TabLayoutResource = Resource.Layout.Tabbar;
      ToolbarResource = Resource.Layout.Toolbar;

      base.OnCreate(bundle);

      global::Xamarin.Forms.Forms.Init(this, bundle);
      FacebookSdk.SdkInitialize(ApplicationContext);
            callbackManager = CallbackManagerFactory.Create();

      var loginCallback = new FacebookCallback<LoginResult>
      {
        HandleSuccess = loginResult => {

          var tok = AccessToken.CurrentAccessToken.Token;
                    FacebookConnector.tokenString = tok;
        },
        HandleCancel = () => {

        },
        HandleError = loginError => {

        }
      };

            LoginManager.Instance.RegisterCallback(callbackManager, loginCallback);

      LoadApplication(new App());
    }

    protected override void OnActivityResult(int requestCode, Result resultCode, Intent data)
    {
      base.OnActivityResult(requestCode, resultCode, data);

      callbackManager.OnActivityResult(requestCode, (int)resultCode, data);
    }

    class FacebookCallback<TResult> : Java.Lang.Object, IFacebookCallback where TResult : Java.Lang.Object
    {
      public Action HandleCancel { get; set; }
      public Action<FacebookException> HandleError { get; set; }
      public Action<TResult> HandleSuccess { get; set; }

      public void OnCancel()
      {
        HandleCancel?.Invoke();
      }

      public void OnError(FacebookException error)
      {
        HandleError?.Invoke(error);
      }

      public void OnSuccess(Java.Lang.Object result)
      {
        HandleSuccess?.Invoke(result.JavaCast<TResult>());
      }
    }
  }
}
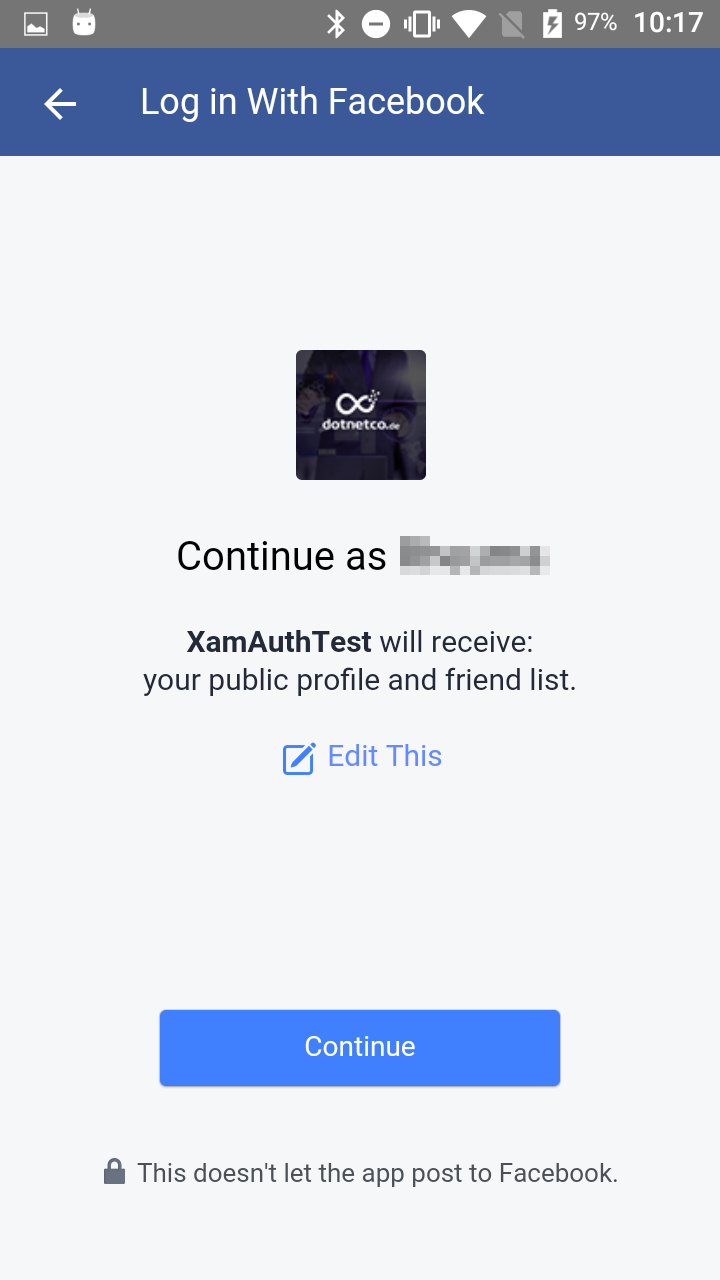
This should be all now. Your app should now show the facebook login button. You may notice that the Text (“Login” or “Logoff”) is automatically set depending on your current status.


Not working on Android 8