
Using iOS App ID .mobileprovision in Xamarin Forms iOS Project
If you are working on an iOS project in Xamarin Forms you will also need to register your app in Apples developer section to get a provisioning profile. This has to be done in the “Certificates, Identifiers & Profiles” part, not in iTunes Connect.
Create App ID Identifier
First go to Identifiers -> App IDs in the left navigation pane. Click on the plus-icon in the upper left to create a new App Id. Now you could select a Description which will be shown in your personal overview. That does not need to be the name which is later on shown in the app store. Then select whether you want to create an explicit or a wildcard id. Wildcards could not be used if you want to use in-app purchases or cloud access etc. Enter your bundle id, e.g. “com.example.myapp”. Take care: The bundle Id is case-sensitive. So if you enter “com.example.myapp”, you also have to name it in your iOS project the same. If you instead use “com.example.MyApp”, your provisioning profile will not show up!
Select additional app services if necessary and click Continue. On the next page you could check your entered data and press “Register” if everything is fine. You should now receive confirmation saying “This App ID is now registered to your account and can be used in your provisioning profiles.”.
Create provisioning profiles
Now you need to create provisioning profiles for development and also for distribution. So go to “Provisioning Profiles” -> “Development” and click the plus-icon in the upper right. Select which type of provisioning profile you want to create. Typically for iOS apps this might be either “iOS App Development” in the development section or “App Store” in the distribution section.
Click “Continue”, select the newly created app id and continue to next page. There you have to select your developer certificate(s). If you are creating a development certificate, you’ll see an additional page where you could select devices where you want to install your application during development process. This option is of course not available for distribution profiles.
Now your provisioning profile should be ready for download.
Installing .mobileprovision for Xamarin Forms iOS Project
Once you have downloaded your new .mobileprovision file from Apple developer page, double-click it within Finder. XCode will open but there is nothing you need to do there so you could close it. And that’s already all. You don’t have to do anything else.
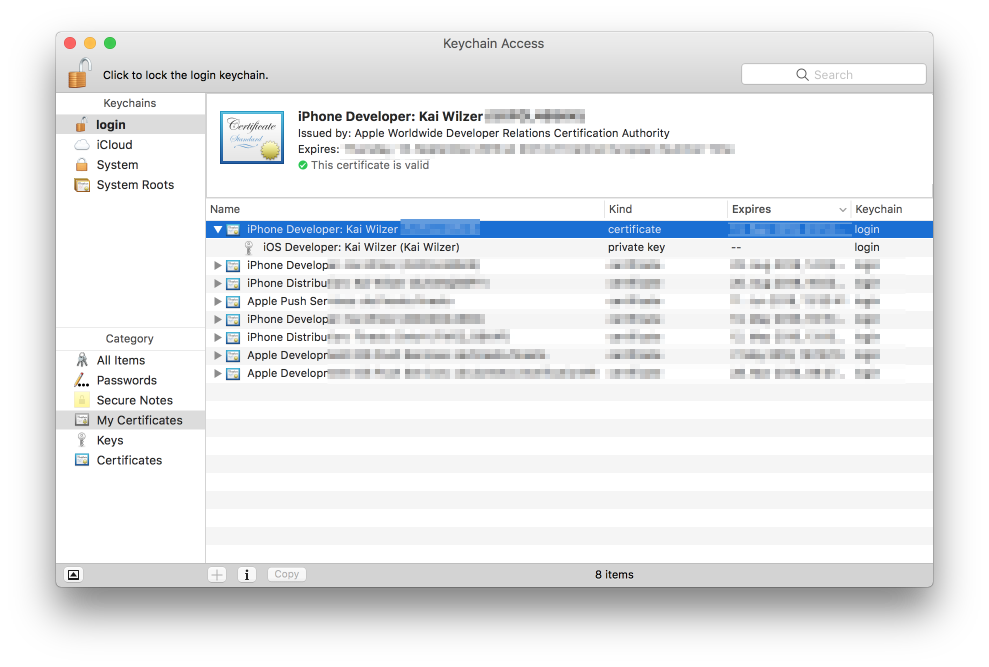
You could check whether everything worked fine within KeyChain Access application. In “My certificates” you should see all your certificates from Apple.
Set provisioning profile in Xamarin Forms iOS Project
Once the provisioning profile is installed successfully, you should be able to select it in your Xamarin Forms iOS Project. Double-click your iOS Project in Visual Studio and go to “Build” -> “iOS Bundle Signing”. Select your Signing Identity and the Provisioning Profile.
If the new Provisioning Profile does not appear in the drop-down list, double-check whether you use the correct bundle id. As said above, bundle id is case-sensitive so if you have created a provisioning profile for “com.example.myapp”, it will not appear in the drop-down if your bundle id in iOS project is “com.example.MyApp”.

