
Some words about publishing to iOS AppStore via iTunes Connect
There might be times when uploading a new Xamarin Forms version to iOS AppStore is not as smooth as it should be. Before pulling your hair out, here are some tips which might help you. Additionally I’ve also added some information about how to upload your first app into Apples AppStore.
Uploading your first Xamarin Forms App to Apple AppStore
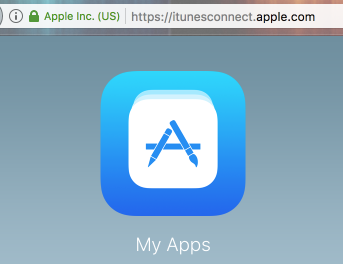
Somewhen finally your development is done. You clicked “Build” -> “Archive for Publishing” and everything compiled fine. Your first app is ready for publishing 🙂 So open your browser, go to iTunes Connect and click “My Apps”.
In the upper left you have a plus sign. Click on the + and select “New App”. Enter all the data. “SKU” (“Stock Keeping Unit”) is an article number and could be any text. It’s not shown in the AppStore anywhere. So if you have multiple apps you might use “app1”, “app2” etc. or maybe just enter the name of the app again, fully qualified (“de.dotnetco.myapp”) or not (“myapp”) as you like. With a click on “Create” you’ll come to the next screen where more application details are requested.
In the meantime you could already upload your iOS App to the store. On the “Archives” overview in your Xamarin or Visual Studio, right-click the app and select “Sign and Distribute”. On the new window, select “App Store” as iOS Distribution Channel and click next. Select your provisioning profile data and click next again. Finally it should say that your app is ready to be published so click “Publish” and the app will be prepared to be uploaded to the app store. Use the application loader to finally deliver your app to the store.
Don’t be confused: That’s just the upload to the AppStore, it’s not the publishing! So some minutes later you should get an email from iTunes Store confirming that your app is uploaded. Now go back to iTunes Connect in your browser and complete the publishing process.
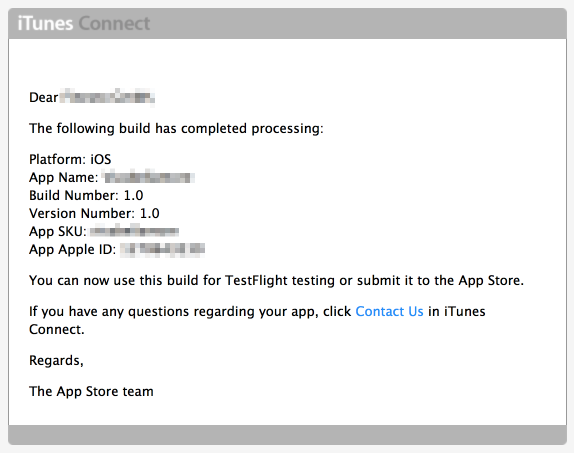
In the iOS tab of your iTunes Connect page scroll down to the “Build” section. Click on the + icon next to the header. If you’ve received above mentioned mail, you should now see your app available there. Select it and click “Done”.
If you have filled all the other necessary information, e.g. added the screenshots (see tip below), you could now “Save” and “Submit For Review”.
Now you could just wait for Apple to pick up your app. I’ve seen everything from just a few hours up to more than a week so just wait and see…..
How to create good-looking screenshots for AppStore
Creating screenshots is easy: Start your app in the simulator and press command-s (or use “File” -> “Save Screen Shot”). But maybe they are not in the correct format, and maybe you want to add some descriptions? Currently you find lot of App Screenshots having some additional text at the top or the bottom, and the screenshot is pasted into a phone screen, and lots of other things. Therefore you might have a look at https://www.appstorescreenshot.com/ which is free to use and has lots of design options to fresh up your screenshots. Of course there are also other sites like Placeit.net offering some free product mockups, Mockuuups Studio, Magic Mockups, mockdrop.io or have a look at some paid products like above mentioned Placeit.net or SmartMockups.
How to delete a wrong version from iTunes Connect
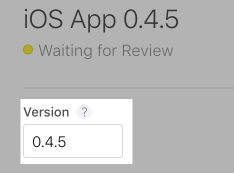
You entered a wrong version number by mistake and want to delete that entry from iTunes Connect? In fact, currently you are not able to delete a version….. but you could change the version number of your wrong record even though that’s not very obvious. Go to your version entry in iTunes Connect. Scroll down to the middle of the page, under “Build”. There you’ll find an input field ‘Version’. Just change the value there and save the record. No idea why this is hidden somewhere in the middle of the document instead of the top of the page…
Cancel review of submitted version
Once you’ve submitted your app you’ll find a new field when you open your version. Here you could remove the current version from review and select another build if you like.

Remove build from version
No idea why apple does not show the removal button always. It’s only available on mouse hover….. So if you want to replace a build (which of course only works if your version is not submitted for review yet) you could move your mouse to the row in the Build-section and a remove icon appears…. Click on this icon and you are able to select another build now.

