
How to add initial code from Xamarin Studio to git at VisualStudio.com
In previous posting I’ve already described how to access existing code from git at visualstudio.com using Xamarin Studio. Now here is the description how to initially upload code from Xamarin Studio into git at visualstudio.com.
Create new project at visualstudio.com
Login at Visual Studio Team Services. On the project tab select ‘New Project’. Select a project name and description. Version control should be ‘Git’ of course.
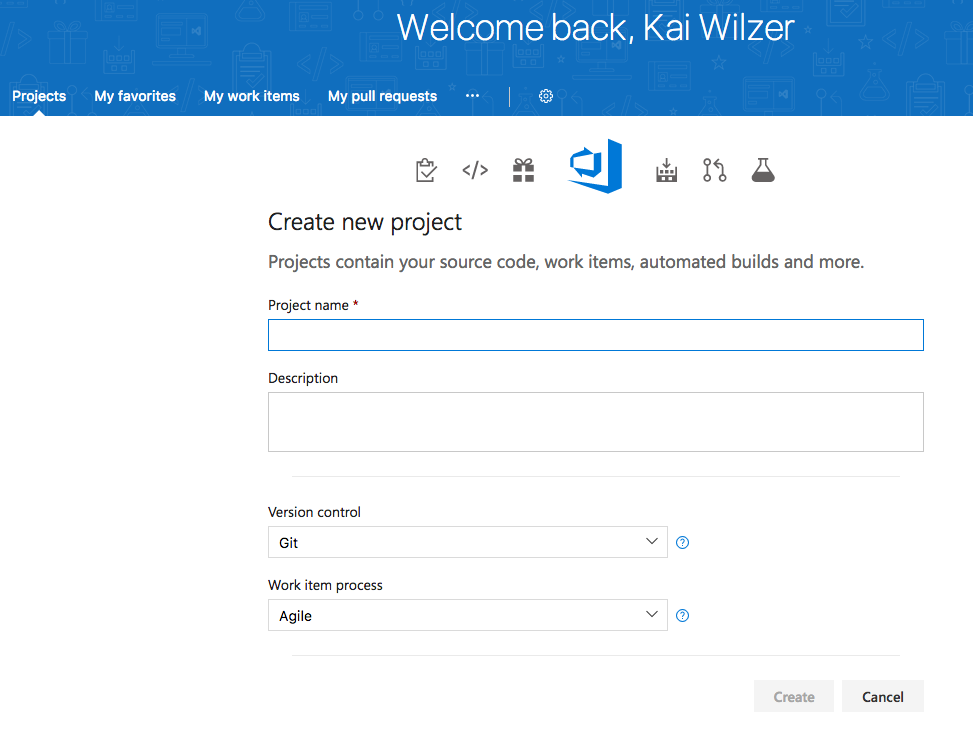
After some seconds, the new project is created.
Setup git credentials
You have to set up git credentials because at visual studio online, your username is your email address but the git url uses the @-sign to separate the credentials from the url of the repository. This way you would end up with two @-signs in the url. Therefore you have to create git credentials at visualstudio.com. You have several options to do this. The easiest way is to click on ‘Generate git credentials’ and setup your credentials. The alias is marked as ‘optional’, but of course it is not. You have to select a username there! Alternatively you could click on ‘Create a personal access token’. I’ve already posted some information about the options here, otherwise have a look at Microsofts documentation.
Set up relation
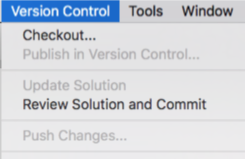
So now you need to setup the relation between your Xamarin Studio code and your new github repository at visualstudio.com. Unfortunately you currently could not setup the relation within Xamarin Studio. In Version Control menu, you’ll see that the options are inactive.
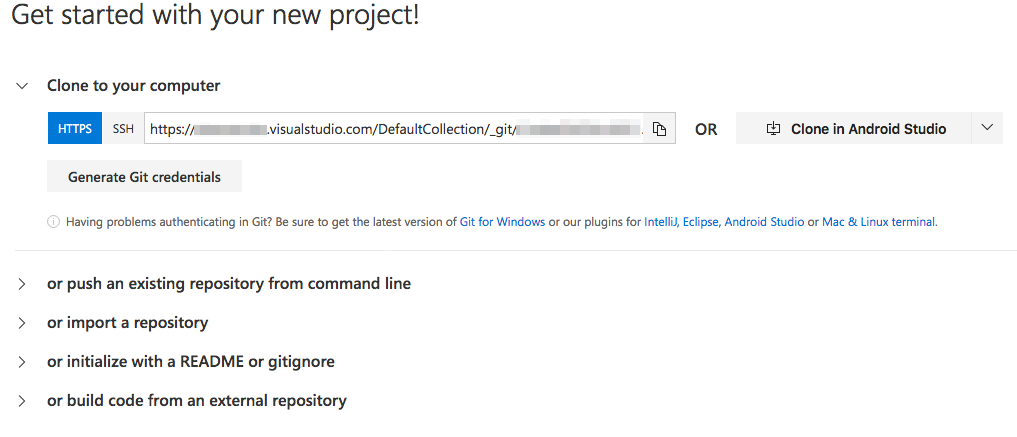
The easiest way to get the relation done is using the terminal. Go back to your project on visualstudio.com and select “or push an existing repository from command line”.

You’ll fine 2 lines there. You only need the first line but it’s of course ok to copy both into clipboard using the icon to the right. Now open terminal on your mac and go to the directory of your existing source code. Now paste the copied lines and execute only the first one (so delete the second before pressing enter). If you don’t get any feedback, the line executed fine. Now open your source code in Xamarin Studio, select your solution file at the top on the left pane and find new enabled options in “Version Control” menu.

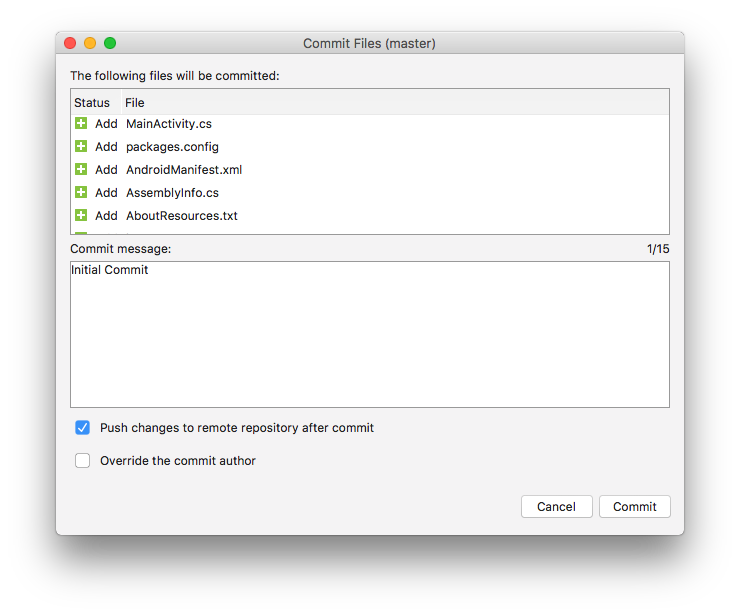
Push initial code to git
So in “Version Control” select “Review Solution and Commit”. The status page should show all your files with status “add” because it’s the first time we add the files to git at visualstudio.com. Make sure all files are selected and click “Commit”. In the commit window, tick the checkbox at “Push changes to remote repository after commit”.
On initial commit, Xamarin Studio asks for your Username and Email address. You could enter whatever you want, these fields are not used for the login security. Of course they are shown in your git repository so you should have valid data there. If you don’t use the email address you’ve registered with Xamarin Studio you will be prompted whether you want to use your input data or the data you’ve stored in Xamarin Studio.
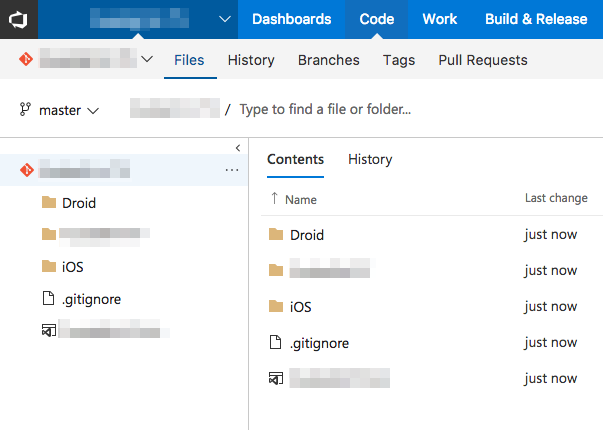
After entering the data, press “Push” to push the data to the server. And that’s it. Check the code tab on your visual studio project site to see whether the data is there.

