
Setup Xamarin Forms for iOS Push Notifications
After setting up Android Push Notifications it’s time to add push notifications also for iOS Xamarin Forms Apps. Apples iOS simulators do not support Push Notifications so we need real hardward for testing. And an Apple Developer Account of course.
Register App at Apple
We need to register our app at Apple to get an app id. The process of registering a new app is described at Apples Developer Guide quite well so have a look there. You need to take care about the following things:
- Create an “Explicit App ID”, not a “Wildcard App ID”.
- Use the Bundle ID as declared in Info.plist of your Xamarin Forms iOS App.

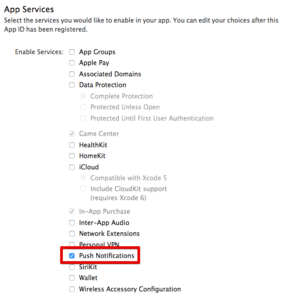
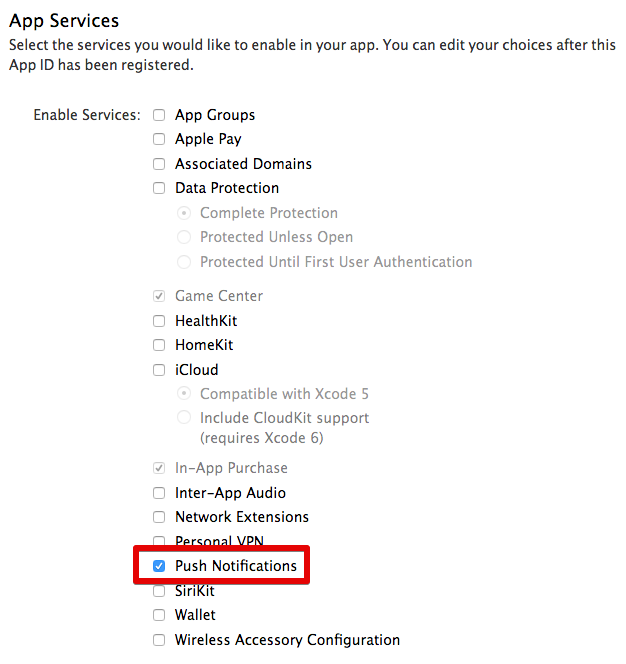
- Make sure to tick “Push Notifications” in the App Services Section.
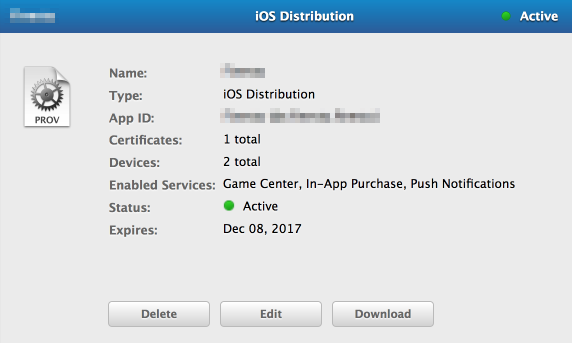
A summary is shown, and with a click on “Register” your new app is registered at Apple Developer Program. Don’t worry about the yellow icon at “Push Notifications” saying “Configurable”. We will configure Apple Push Notifications in next step.
Configure Apple Push Notifications
To use Apples Push Notitifications we need to have an SSL certificate. Have a look at Apples Developer Guide again to get details how to create a push notification SSL certificate. Two things to notice: Read carefully to create the correct certificate. Screenshot on apple doc currently shows that it’s the second item at “Production” but actually it’s the third. The second sounds quite the same (“Apple Push Notification Authentication Key (Sandbox & Production)”) but you have to select “Apple Push Notification service SSL (Sandbox & Production)”. And at the end, Apple says it’s optional to download the generate certificate in the last step. But you will need it for later configuration so please download it to your mac. Of course you could also download it later on from the certificates menu if you forgot to download.
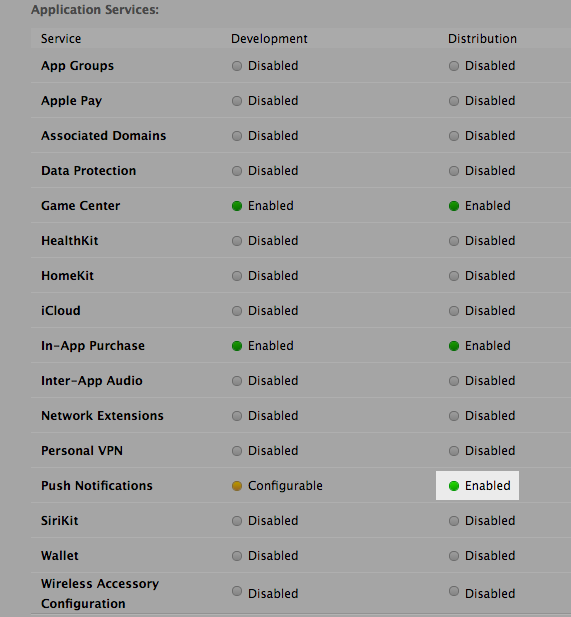
After following these steps, push notifications should be enabled successfully.
Update Microsoft Azure Push Notifications Hub
For Android we only needed to copy the ID, but for Apple Push Notification Service (APNS) we need to upload the new certificate into Azure. So first get the new certificate into your keychain but simply double-clicking on the downloaded .cer file. If you haven’t downloaded it during certificate creation, go to https://developer.apple.com/account/ios/certificate/ and download it now. Starting app “Keychain access” you will find your new certificate in category “My Certificates”.

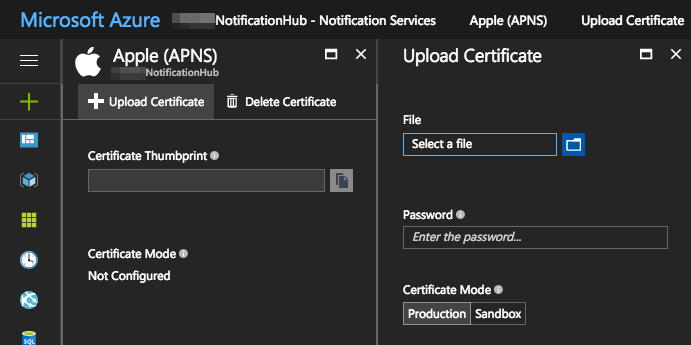
Right-click on the certificate and select “Export”. You have to enter a password so that the exported file is secured. Now go to Azure Portal and open the existing Push Notification Hub. Select “Manage” -> “Notification Services” and click on “Apple (APNS)”. There you could upload the new certificate.
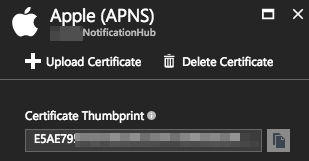
If everything worked fine, Azure shows a certificate thumbnail for APNS.
Add Certificate to Xamarin Forms iOS App
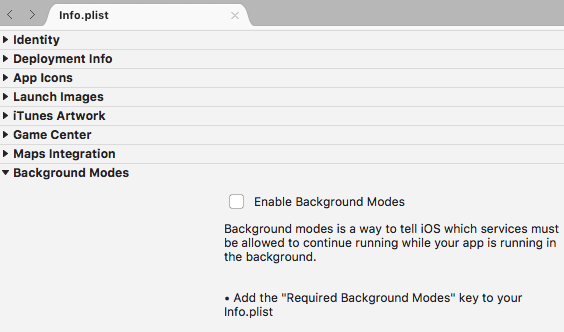
We also need to configure the new certificate in our Xamarin Forms iOS App. In Info.plist, scroll down to “Background Modes” and tick the checkbox saying “Enable Background Modes”.
If you haven’t added an Apple Developer Account yet you will be asked to add a development team. Click “Add Account”.

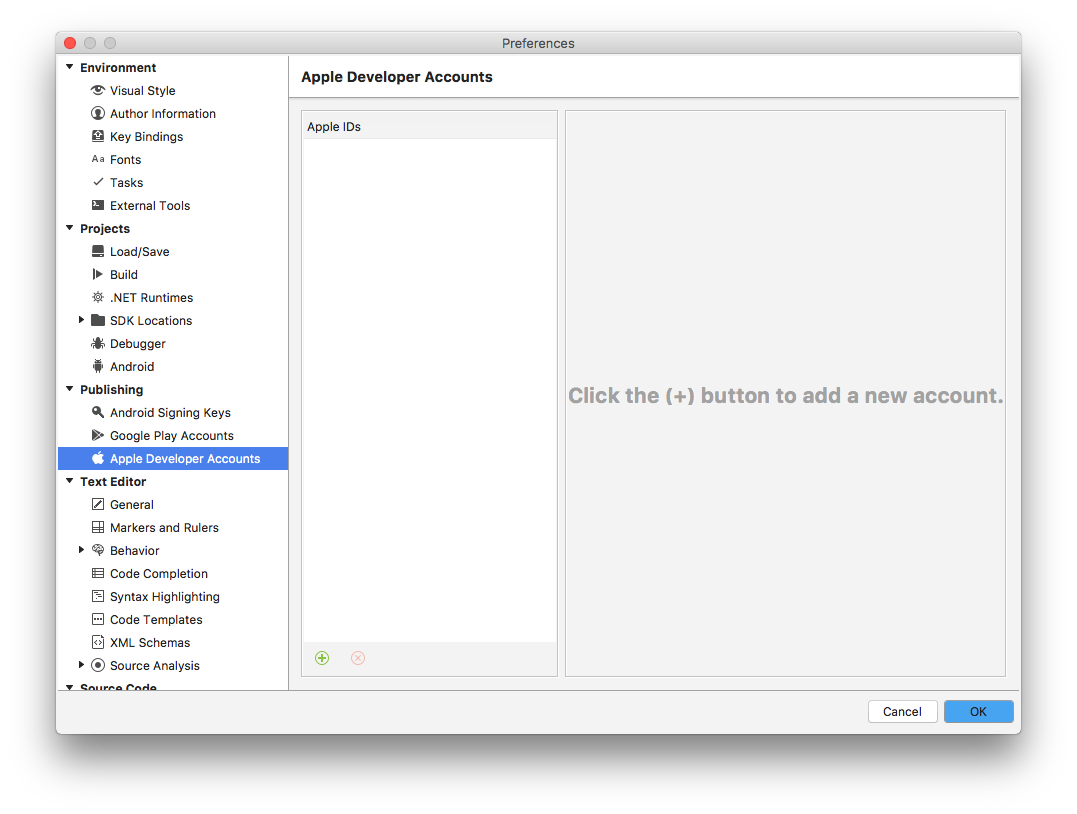
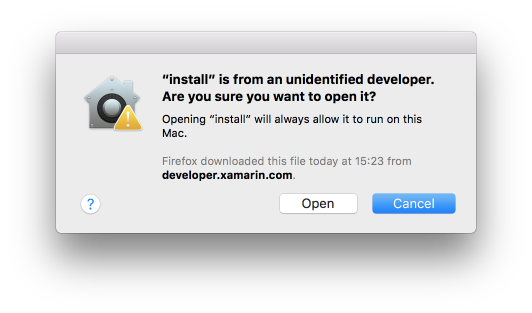
I clicked on the “+” at the bottom and I get an error message: “fastlane not installed – To add new accounts install fastlane. fastlane provides a fast and secure way to handle your authentication details and communicate them with the Apple Developer Portal. For more information, see our documentation.” So first make sure that Xcode command line tools are installed, then download fastlane from https://download.fastlane.tools/ and install it. Hmm… fastlane is from an unidentfied developer…? OK, installation instructions already knew that and said the install file should be started with holding the control key while clicking it.

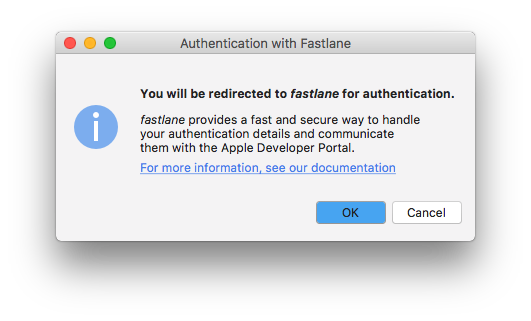
You won’t get any result after confirming the installation, so that’s a good sign and fastlane is installed as requested. So go back to Xamarin Studio and click “+” again in order to add your apple id. Now you get the info that you will be redirected to fastlane for authentication.
A new terminal window opens, asking for a “Username”. After just pressing enter, the following info text will be shown:
Please provide your Apple Developer Program account credentials
The login information you enter will be stored in your macOS Keychain
You can also pass the password using the `FASTLANE_PASSWORD` environment variable
More information about it on GitHub: https://github.com/fastlane/fastlane/tree/master/credentials_manager
So enter your Apple developer username and password here. After that I got the following message:
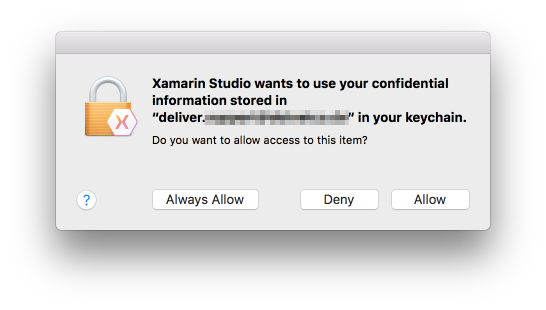
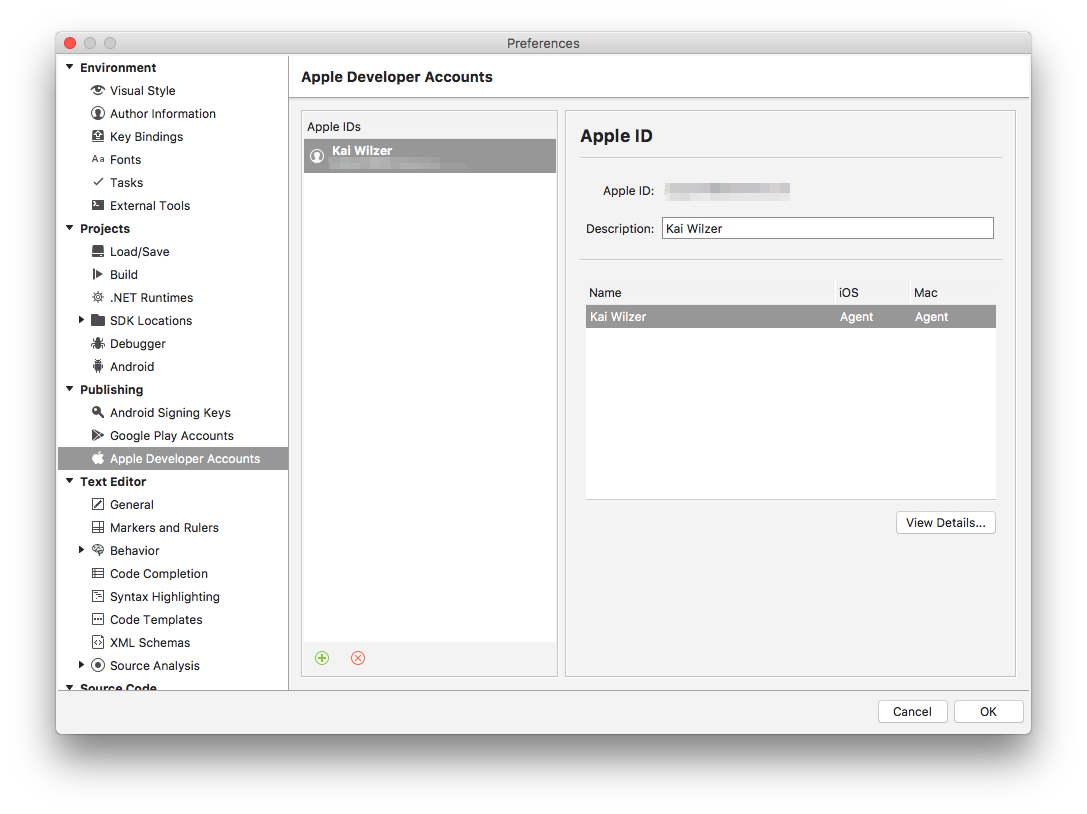
I was a bit surprised, because instead of my email address I found “deliver.[myemailaddress]” ….? Anyway, it seems that fastlane knows what to do because after confirming “Allow” for several times, finally my developer account is now listed in the Apple Developer Accounts in Xamarin Studio.
So what to do now? Ah yes, I want to enable the push notifications for my Xamarin Forms iOS App. So back to Info.plist, I ticked “Enable Background Modes” as described some sections before. Now I could selected my developer account successfully. In the list of modes, push notifcations is now called “Remote notifications” so just tick that. No need to click “Save” anywhere here. (By the way, there seems to be a bug in Xamarin Studio currently: The “Enable Background Modes” checkbox is always unchecked when you open Info.plist. But it’s only a display error so in fact it is checked and saved fine.)
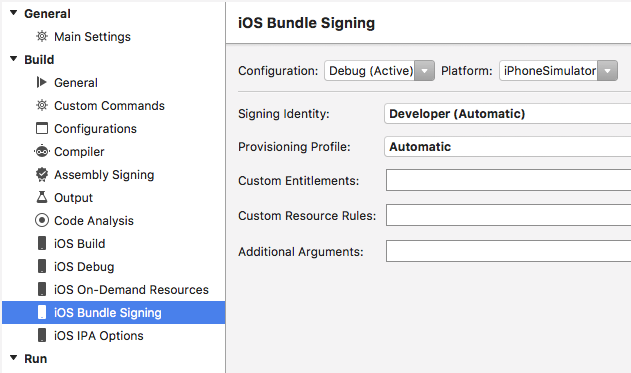
Now go to the project options of your iOS App by right-click on your iOS project and selecting “Options”. In “Build” -> “iOS Bundle Signing”, update the “Signing identity” and the “Provisioning Profile”. Currently it might be something like “Automatic” so make sure to select your new values here.
Configuration is now complete. As a next step we have to update the iOS code.
Update Xamarin Forms iOS App for Push Notifications
First we have to update the AppDelegate.cs. Add “using Newtonsoft.Json.Linq;” at the top. Afterwards add the following 2 new override methods into AppDelegate class:
public override void RegisteredForRemoteNotifications(UIApplication application,
  NSData deviceToken)
{
  const string templateBodyAPNS = "{\"aps\":{\"alert\":\"$(messageParam)\"}}";

  JObject templates = new JObject();
  templates["genericMessage"] = new JObject
     {
       {"body", templateBodyAPNS}
     };

  // Register for push with your mobile app
  Push push = PushClient.DefaultManager.CurrentClient.GetPush();
  push.RegisterAsync(deviceToken, templates);
  PushClient.RegistrationID = push.InstallationID.ToString();
 }

public override void DidReceiveRemoteNotification(UIApplication application,
  NSDictionary userInfo, Action<UIBackgroundFetchResult> completionHandler)
{
  NSDictionary aps = userInfo.ObjectForKey(new NSString("aps")) as NSDictionary;

  string alert = string.Empty;
  if (aps.ContainsKey(new NSString("alert")))
    alert = (aps[new NSString("alert")] as NSString).ToString();

  //show alert
  if (!string.IsNullOrEmpty(alert))
  {
    UIAlertView avAlert = new UIAlertView("Notification", alert, null, "OK", null);
    avAlert.Show();
  }
 }
Additionally add these lines into existing FinishedLaunching method:
// Register for push notifications.
 var settings = UIUserNotificationSettings.GetSettingsForTypes(
     UIUserNotificationType.Alert
     | UIUserNotificationType.Badge
     | UIUserNotificationType.Sound,
     new NSSet());

 UIApplication.SharedApplication.RegisterUserNotificationSettings(settings);
 UIApplication.SharedApplication.RegisterForRemoteNotifications();
That should be enough. Now deploy your app to your iPhone (remember: Push Notifications are not supported on iOS Simulators). You should be asked whether your app is allowed to send you push notifications, and after confirmation the push notification ID should be available as expected.
Troubleshooting
Of course it’s not as easy as it seems. I had some problems with the push notifications. My app asks whether push notifications should be allowed, so that’s fine. But method “RegisteredForRemoteNotifications” is never called, so no push notifications are sent…. Finally I’ve found the problem: The Provisioning Profile! I selected the profile which I had already created for using with HockeyApp. But there I used a wildcard profile, and as declared by apple, wildcard profiles are not allowed for push notifications.
Fortunately the fix is quite easy (once you know the problem); Just go to https://developer.apple.com/account/ios/profile/ , click on your HockeyApp Provisioning Profile and select “Edit”. The App ID currently contains a wildcard certificate. Just change this to your specific profile without wildcard. I would also advise to change the name of the profile because I was confused how Xamarin Studio handles the provisioning profiles because also my deleted profiles are still kept in the list… So to make sure that your new provisioning profile is used you might add a “new” or something at the end of the name. Then click “Generate”. There is no option to select “Push notification” here but the profile will be enabled automatically for Game Center, In-App Purchase and…. Push Notifications! So import the new profile using Xcode and it should be available in your Xamarin Forms iOS Project Options at “iOS Bundle Signing” as well.

