Publish Xamarin Forms iOS App using HockeyApp
After integrating HockeyApp into our Xamarin Forms Application, it’s time to publish a first beta to our testers using HockeyApp. Here is a step by step guide what to do.
In Xamarin Studio, select ‘Device’ as build target.
![]()
Otherwise Xamarin Studio will inform you in next step that you could not create the archive:
Configuration doesn’t target device
Your configuration doesn’t target a valid iOS device.
Please select a device from the drop-down menu before archiving.
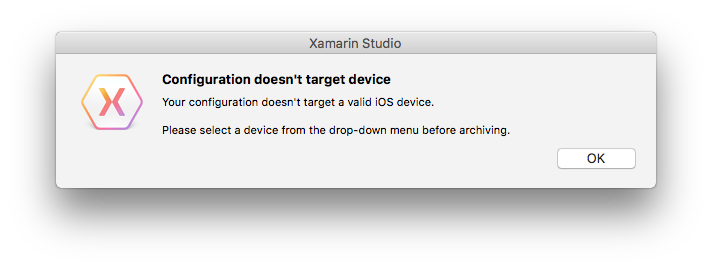
So if you see this error message, just switch your target to ‘Device’.
Now click ‘Build’ -> ‘Archive for Publishing’. Xamarin Studio will now build your project and prepare everything so you are ready to publish it on the App Store (even though we will use HockeyApp instead of Apples AppStore for distribution). This might take a while now, depending on your project size of course. You might get a confirmation window saying “codesign wants to access key ‘access’ in your keychain” so you should allow that.
Archive created
A new window will open within Xamarin Studio, showing details about your newest build.

With a right-click on the build you could select ‘Reveal in Finder’.
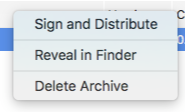
This will show you the real place on hard disk, e.g. \users\username\Library\Developer\Xcode\Archives\date\app.date.xcarchive
Add build to HockeyApp
You could add the build to Hockey App using their webpage or their dedicated Hockey apps. So here is the description using HockeyApp for Mac.
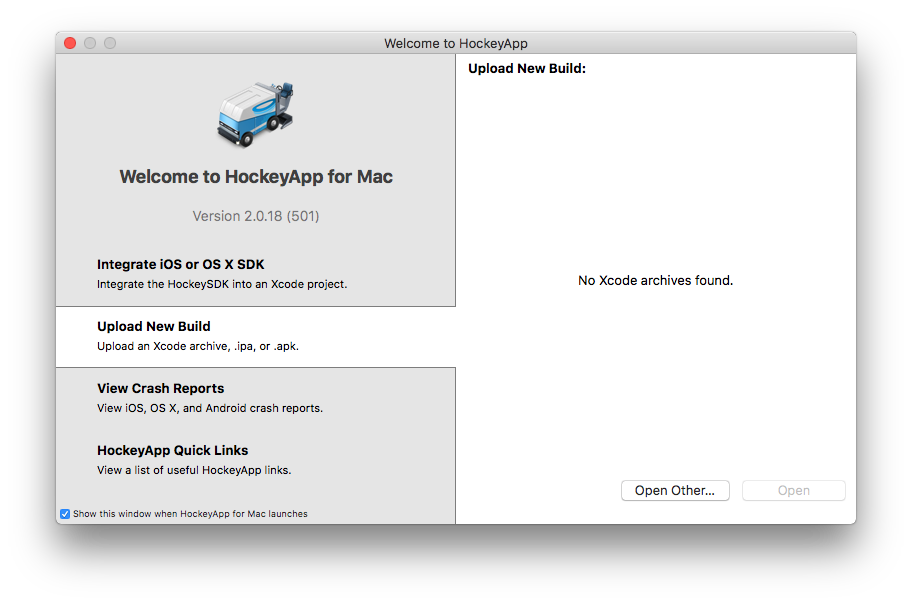
The Welcome screen should be shown when you start the HockeyApp, otherwise you could also select it in the application bar using ‘Window’ -> ‘Welcome to HockeyApp’.
Here you select ‘Upload New Build’. Now navigate to the place of your xcarchive. Typically ‘Library’ is a hidden folder so you would not be able to select the path. You could select to show also your hidden directories, or you could simple drag and drop the xcarchive file from your finder (which you’ve opened with ‘Reveal in Finder’ previously) to the file window of Hockey App. A new window appears, saying ‘Creating app & symbol packages (Please wait)’.
And codesign wants to access key “access” again. After some seconds, a new window is shown with all the details about the app to be uploaded.
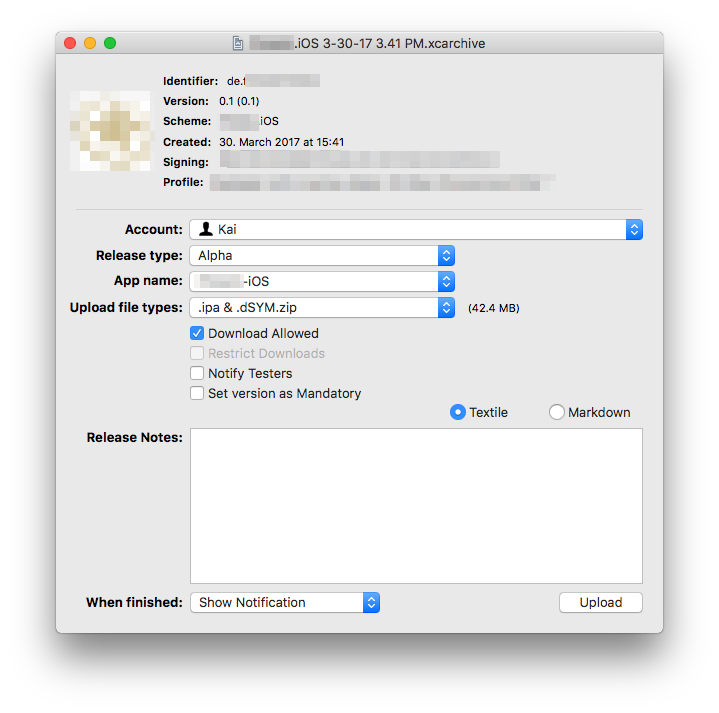
With click on ‘Upload’ in the lower right, the upload process starts. It checks whether the build number is already taken. If so, you could use another build number or just replace the existing app with this particular build number.
That’s it
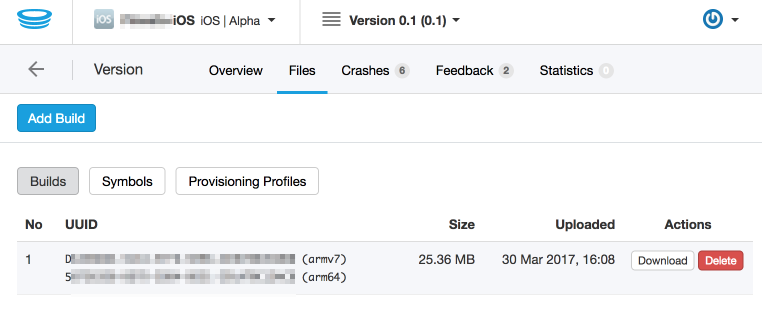
You will get a notification (or whatever you selected in previous step) once the upload is completed. It should take only some seconds. Now when you go to your hockey app page and select the files-tab you should see your new version available there.
Invite new betatesters
There is a detailled description on Hockey App Support how to invite new betatesters so this should cover all questions.
Add devices of new betatesters
So your new betatesters are registered at hockeyapp and you see their Device ID (UDID) in the list of “Unprovisioned devices”. HockeyApp now knows about these devices, but also Apple needs to know them. HockeyApp cannot do this for you, but again they have detailled information about adding new devices to your provisioning profile. Take care: Apple has a limit of 100 devices to be registered. And the list is only reset once a year when your membership is renewed. So even if you want to delete a device, it would not be removed until your next year of membership.
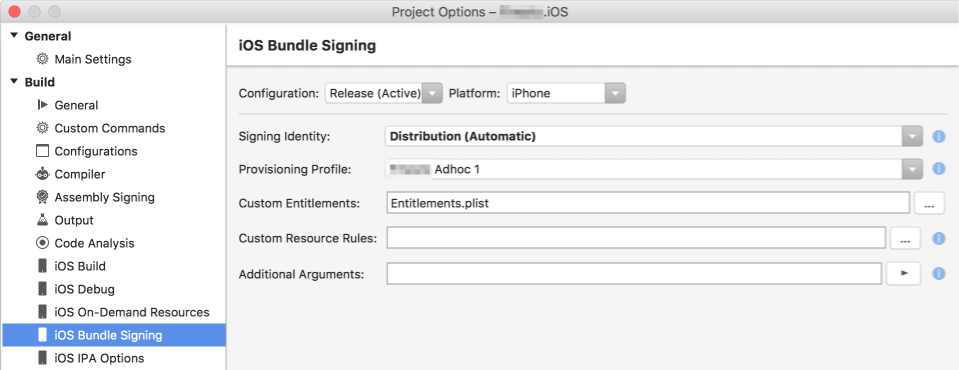
Select new provisioning profile
In Xcode, go to Preferences and Account and download your profiles. Your new profile should now be available in Xamarin Studio, maybe you need to restart it. Now select Signing Identity “Distribution” and the new provisioning profile. Click OK and create a new archive following the steps above. HockeyApp should then show that your new archive is available for the new amount of devices.